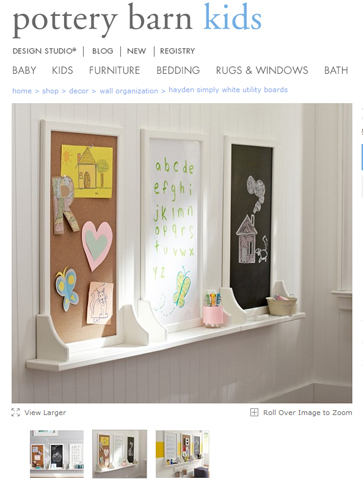
Ever seen these? Yeah, you have. Why hadn’t I ever thought of this before? Turn a good old-fashioned shelf on it’s head – yes please!
The minute I laid eyes on them, I had to have make them. Because even at what PB calls the “sale” price of 99 bucks, my brain can’t register that kind of coin for that kind of simplicity (oh, did I mention, $99 EACH… and I’m sure you already know about sly little add-ons like tax and shipping and handling and oh, maybe just your bonus check if you have one).
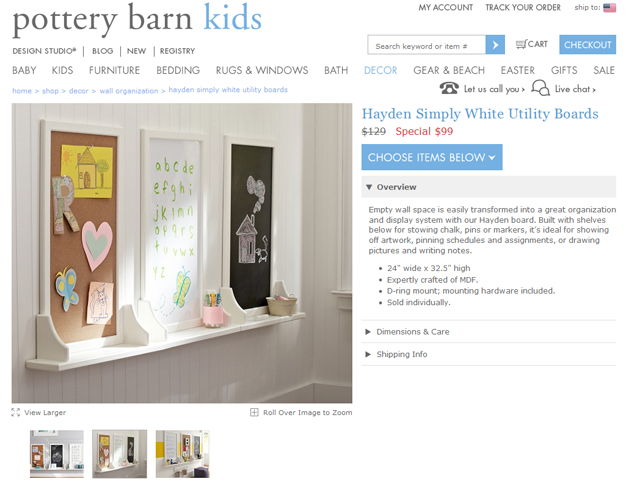
This is one I absolutely knew I could master. Would it be a total spoiler if I told you I also mastered it to the tune of less than $50? For TWO. I’ll run you through some of the basics (and trust me, it’s basic). Seriously, if you can comfortably wield a saw and a drill, you’re completely qualified. Actually, the saw isn’t even really necessary – you can hand that task to someone in a bright, orange apron.
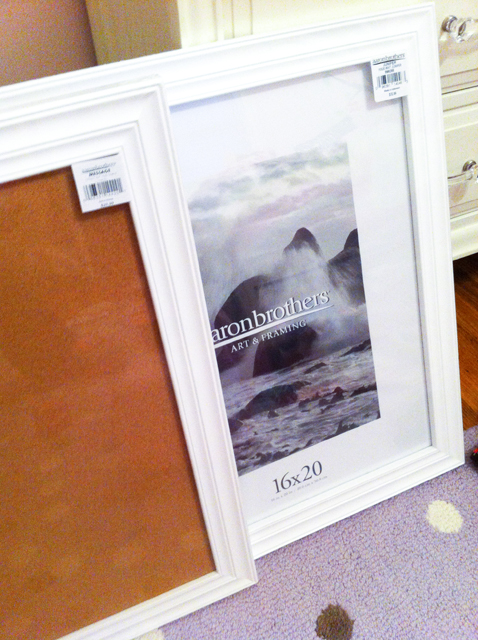
Get yourselves a couple of frames, pinboards, whiteboards… whatever’s going to work for you. I found mine at Aaron Brothers during the “Buy1 Get 1 for a Penny” sale: huge 16×20, matching frame and pinboard: $32.99. Ah, plus $0.01.
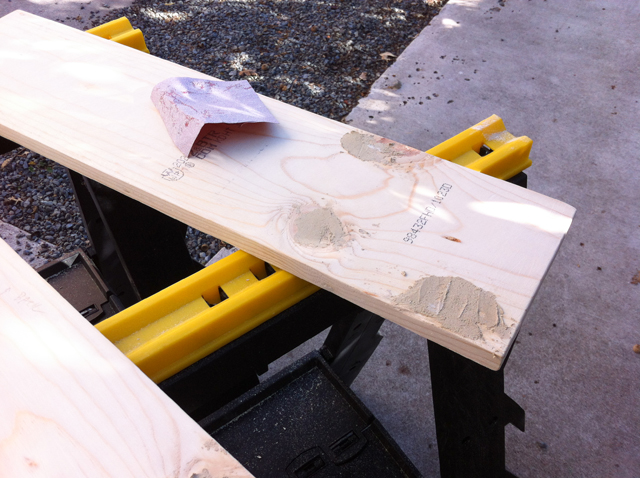
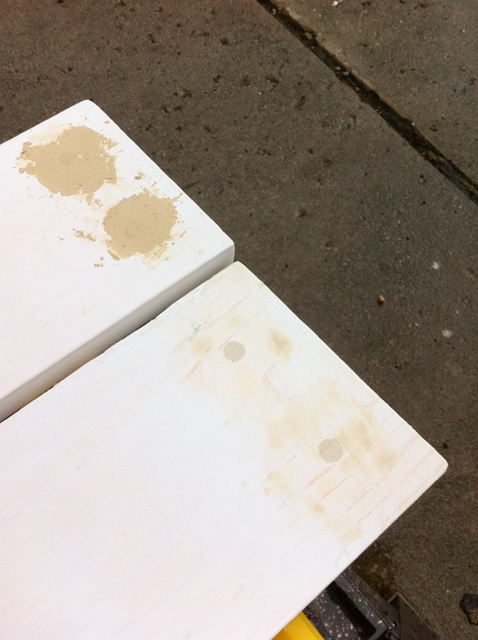
Measure your ideal shelf length that includes room at each end outside of the corbels. Cut your board(s) to size. Sand, fill imperfections and sand again. I went a little overboard with the wood filler, you think? It’s like a mud mask – it feels better when you use more. And speaking of mud masks, when you sand that rejuvenating stuff off, make sure you make note of the top, right, back, etc. so that when it’s all made up, it’s showing its best side to the camera.
Two corbels for each side: they will come built to be bottom supports. Please don’t. This ain’t your grandma’s house. Just unscrew the keyhole hangers and rotate them 180°.
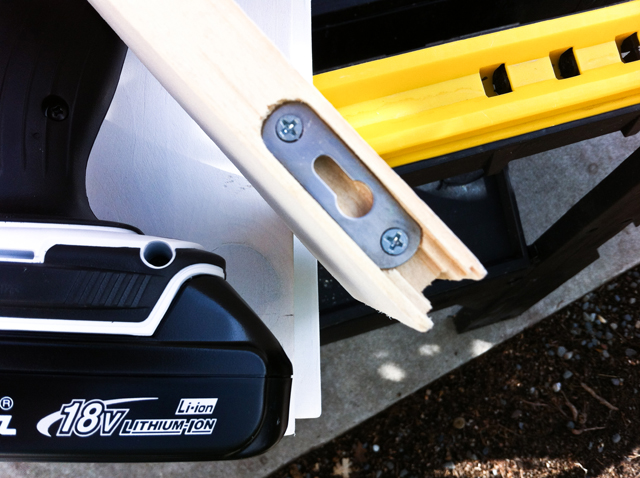
I turned the corbels over and noted where I wanted to pre-drill. I’d be gluing and screwing these down so that we’d have maximum shelf support.
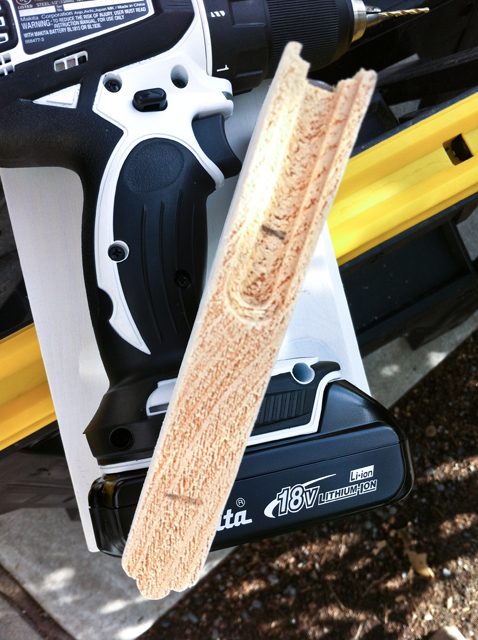
Did I mention you should also be good with a measuring tape? Because there is a LOT of that going on here. Measure your corbel placement on the shelf, use your level to line up the back and go in from the bottom, aligning your screw holes with the measure of your pre-drilled holes in the corbels. I used a counter-sink bit here but it was without the drill bit so this took two steps. I counter-sunk the holes…
…and then I took my small drill bit and pre-drilled a hole all the way through. (I promptly headed out to the House of Orange to purchase some combo counter sink bits with the drill bits built in so I don’t ever have to do this twice again.)
All the while, I’m making sure it aligns with the holes in my corbels.
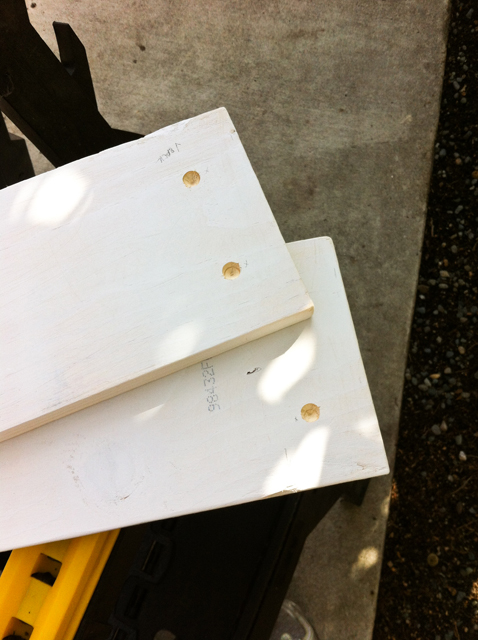
Glue first. I’d primed everything in advance so that I’d have all those nooks and crannies prepped. No vice needed, I just set the shelves in an upright position to dry. They were almost as strong as nails with the glue alone. But that’s not enough to convince me. (That, or I just needed a little more quality time with my drill.)
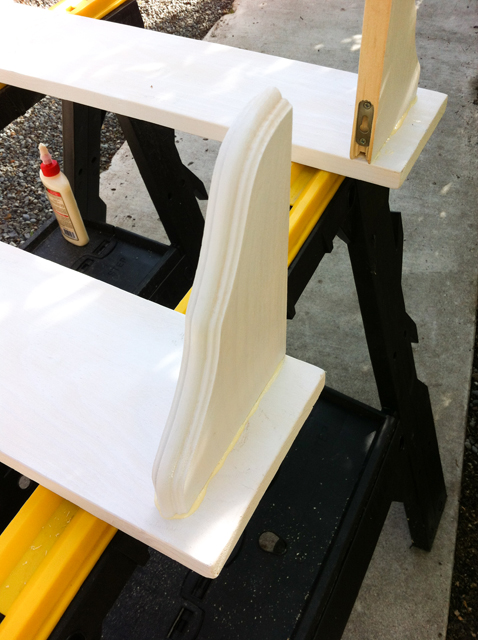
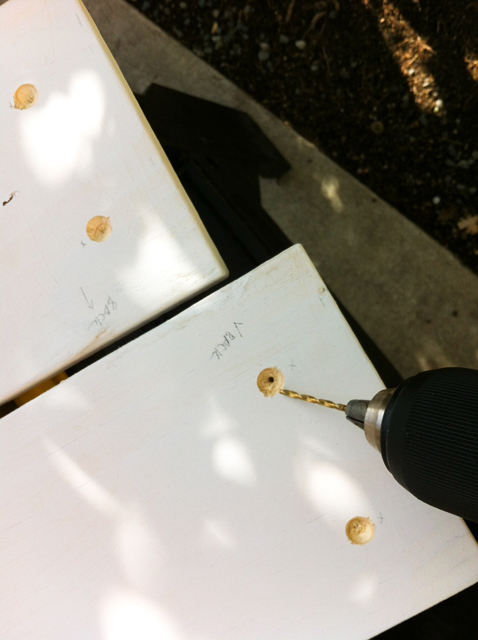
Once dry, drill those flat head screws down into your counter-sink holes that align with the corbels. Then just go crazy with that wood filler and sandpaper again.
Ready? Sand, paint, sand, paint, sand… as long as you can tolerate it. I finished off with a light coat of water-based Polyurethane. I wish I could say it was over, but the hardest part was getting everything aligned on the wall. I matched up the shelves first and then hung the frames inside of them. I used light-duty wall anchors and screws so these things would be secure against all the pinning and pulling, writing and erasing. I can guarantee mine will be a lot more heavy-duty than the hokey d-ring mounts on the PB ones.
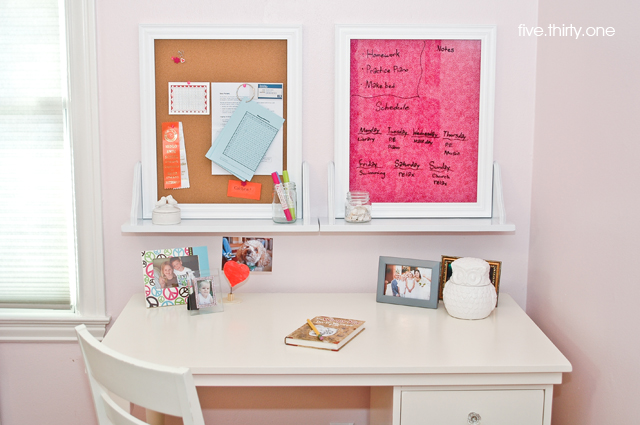
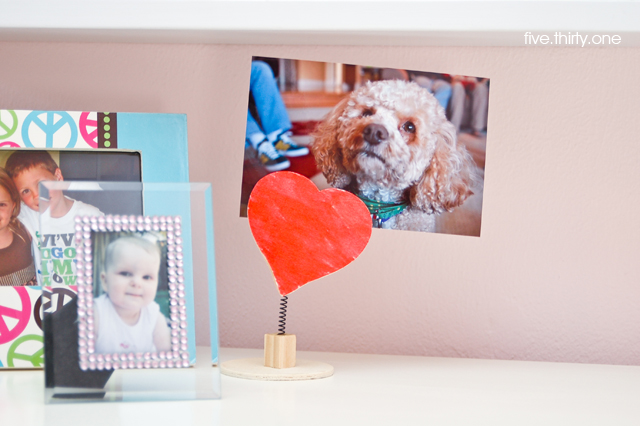
My daughter could hardly wait to put up her weekly to-do list and schedule. I almost didn’t get the Aaron Brothers frame filler out… she didn’t want to wait to hit the craft store for some fun paper background, so we rummaged around my fabric scraps and found a perfect pink piece that we simply stretched across the glass. Bingo. No extra cost.
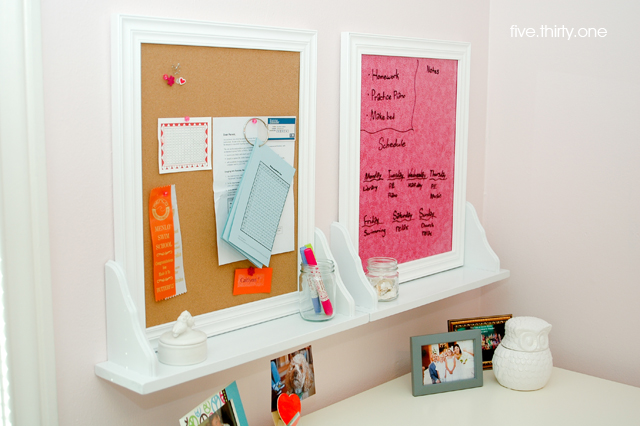
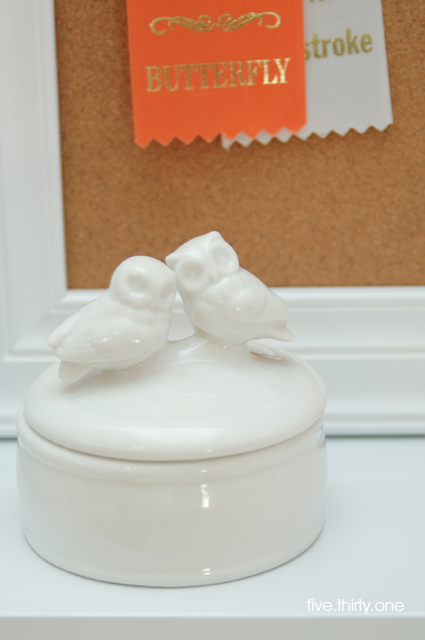
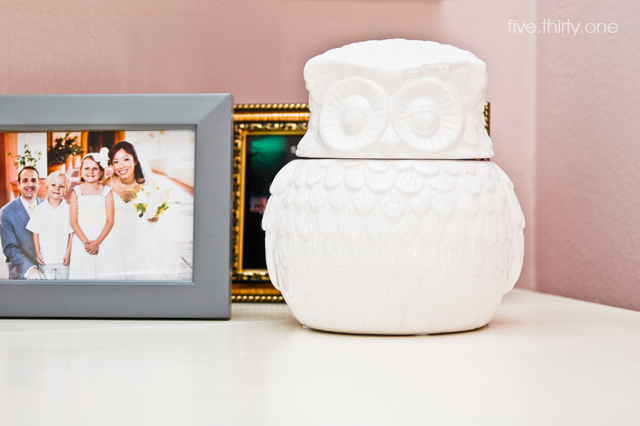
It goes without saying that I am loving some of the little details that I recently found to accompany my girl’s obsession with owls.
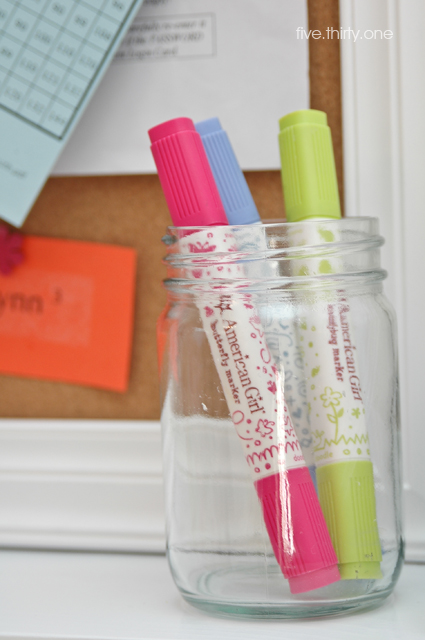
Her little markers are so sweet, I’d be lying if I said I hadn’t taken them for a spin once or twice…
Alright, I gotta go stare at these shelves (and maybe some other things I could turn upside-down). In the meantime, here’s that breakdown. Eat your heart out, PB.
1x6x6 common board: $4.80
4 wood corbels: $7.92
frame: $35.71
pinboard: $0.01
prime, paint, hardware, fabric: studio stash
Grand total for two units: $48.44